
Upload images and add metadata
On this topic page you will find information about uploading images to the file list.
Upload images
Note: Before uploading images to the file list, first check that they meet the basic framework for images on the web. For information on this, see our topic page on image formats.
1. Select file storage:
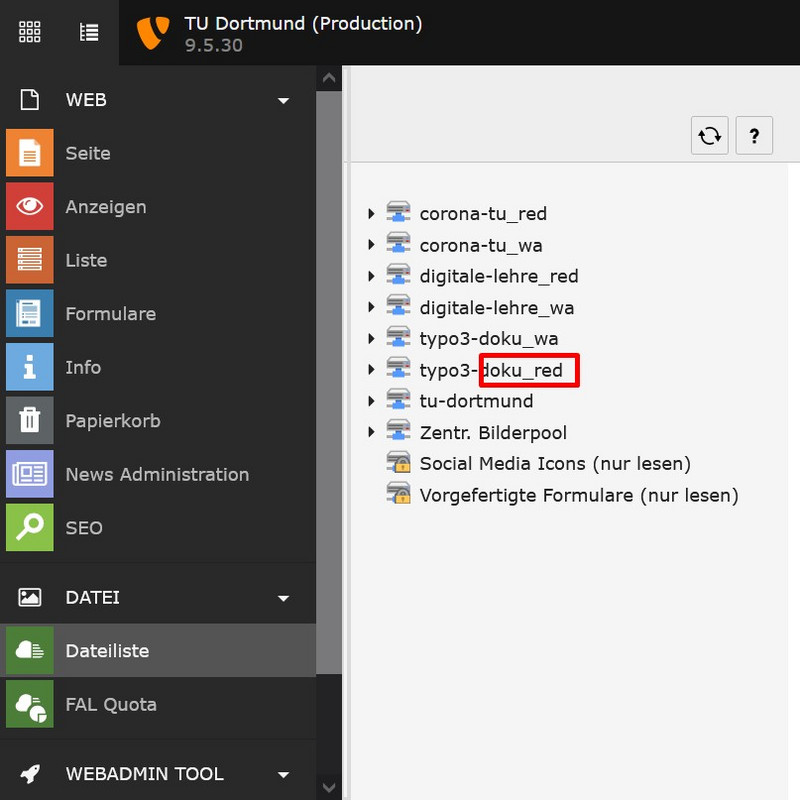
In the TYPO3 backend, switch to the "File list" module and select the appropriate file store there (see screenshot "Select file store").
Every TYPO3 site of the TU Dortmund University is delivered with two file stores: File storage with the abbreviation "_red" can be used by editors and web admins. File stores with the abbreviation "_wa" are reserved for webadmins.
Notes:
- Users with the roles "Editor" and "Editor Plus" cannot see the file stores for webadmins.
- If you have access to multiple TYPO3 appearances, you will see the folders shared according to your role for each of your appearances. Make sure to always store images and files in the file store of the gig where they will be used later.
2. Upload images
In the file store, open the folder where you want to upload the images. Click on the upload icon at the top of the workspace (see screenshot "Upload images").
The default window of your operating system will open, allowing you to select and upload one or more files.
Alternatively, you can drag and drop the files from your local work device to the dashed-bordered area of the backend and drop them there.

3. Deposit metadata
After the images are uploaded, update the current folder by clicking on the arrow icon at the top of the workspace (see screenshot "Deposit metadata").
Click on the pencil icon to the right of each image to edit the metadata.
Note: If you do not see the icon bar, activate the "extended view" option at the bottom of the workspace.
See the section on metadata for information on which metadata must be stored.
Finally, save your changes by clicking the "Save" button at the top of the workspace.

Good to know
Replace images
Sometimes it happens that an already existing image needs to be replaced. If this image has already been included on several pages of your website, you should use the Replace function.
Note: You can see how often an image has already been included by the number in the "Ref" column (see screenshot "Replace images 1").
First click on the replace icon on the respective image (see screenshot "Replace images 1"). In the following screen, click the "Browse" button and select the new image file from your local system. Optionally, by clicking on the checkbox, you can choose to keep the current image file name or replace it with that of the new image (see "Replace images 2" screenshot).
Finally, click the "Replace" button. The old image will be automatically replaced in places where it was in use. If the new image is not displayed directly on a page, you should clear the cache of the page in question.


Rename images
You can rename images by clicking on the corresponding icon (see screenshot). Please note the following:
- If possible, do not use special characters or umlauts.
- Keep the final file abbreviation (e.g. ".jpeg").

Delete images
You can only delete images if they have not yet been included on a page. You can see how often an image has already been included by the number in the "Ref" column (see screenshot "Delete images").
If you click on the respective number, an overlay appears. Here you can see on which pages and in which content elements the image has been used - the so-called "References to the element". By clicking on the pencil icon you can directly edit the respective element (see screenshot "Check references to image").

